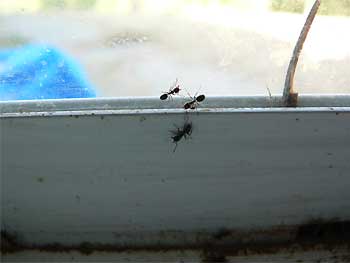
Here's the thing: You can start out with a pretty crummy picture such as the one at the right and if that picture is in digital format -- taken by a digital camera or phone -- you can do wonderful things with it by using a good photo editing program. For example, you can do this:
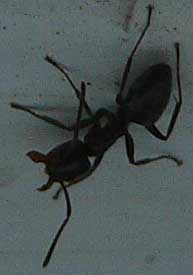
- Crop the images -- cut away parts not wanted; At the right, the above picture has been cropped to show only one ant.
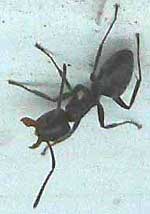
- Adjust exposure -- add light to too-dark pictures, such as the one at the right, which is lightened in the picture below, or darken overexposed ones
- Adjusting white balance -- adjusting colors so the image looks more natural, maybe by adding flesh tones to a picture that's too bluish
- Adjust contrast -- alter the relative brightness of things, make them stand out against the background better
- Adjust color saturation -- making colors brighter
- Sharpen images -- not really focusing things better, but artificially manipulating pixels showing the edge of things so that things do sometimes look sharper
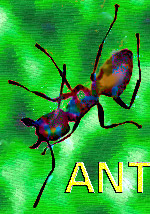
At the left, a lot has been done other than improving the image, however. A photo editing software or app has replaced the ant's background with another, the ant itself has been given some interesting hues, and text has been added, the letters displaying a 3-D effect. Using this photo editing app, if you'd wanted, you could have put your own head where the ant's head is, or maybe pink booties on the ant's feet.
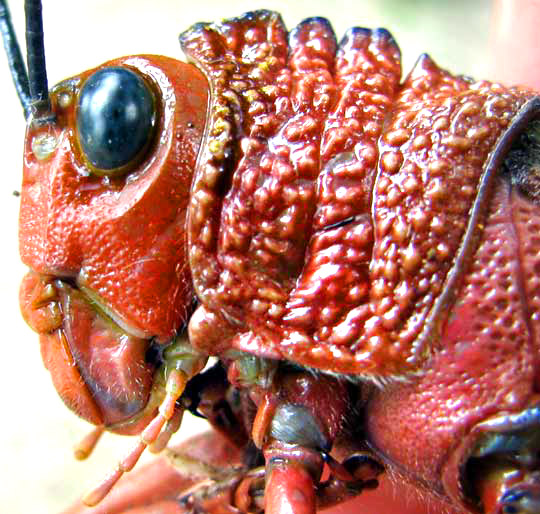
However, we're into Nature photography here. At the right, the original picture of the Giant Grasshopper, Tropidacris cristata, started out as too dark, so it was lightened. Just the head was wanted, but the original picture showed the whole body, so the image was cropped.
A crisp picture resulted despite using only a tiny portion of the original image because normally digital photos are produced with far more pixels than needed for images appearing on the Internet. Nowadays average digital cameras produce default images with about 25 megapixels -- 25,000,000 pixels. Our image of the grasshopper head consists of 28,000 pixels. That's a small fraction of 1% of the original image. Therefore, if you crop out a very small part of a 25 megapixel image and enlarge it many times, if the original picture was very sharp, maybe made with a tripod used to keep the camera steady, or shot with a very fast speed, you can get pictures like that of the grasshopper head.
PHOTO-EDITING SOFTWARE
More expensive digital cameras enable us to improve photos while still in the camera. If your camera doesn't do that, you can use a
Probably the best photo manipulation tool is Adobe Photoshop. For the full program you must rent it monthly. Several free photo apps can be reviewed and compared by doing an Internet search on the keywords "free photo manipulation apps."
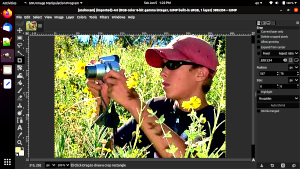
GIMP is a powerful, free-to-download, open-source photo manipulation tool. A screenshot of GIMP software being used is shown at the right. However, at this writing in 2021, GIMP is hard to use, not intuitive, and its manual is inadequate. Still, many serious photographers use GIMP. If you get stuck using GIMP, you can do a search on such keywords as "gimp how add text," and someone, someplace, will have provided an understandable answer.